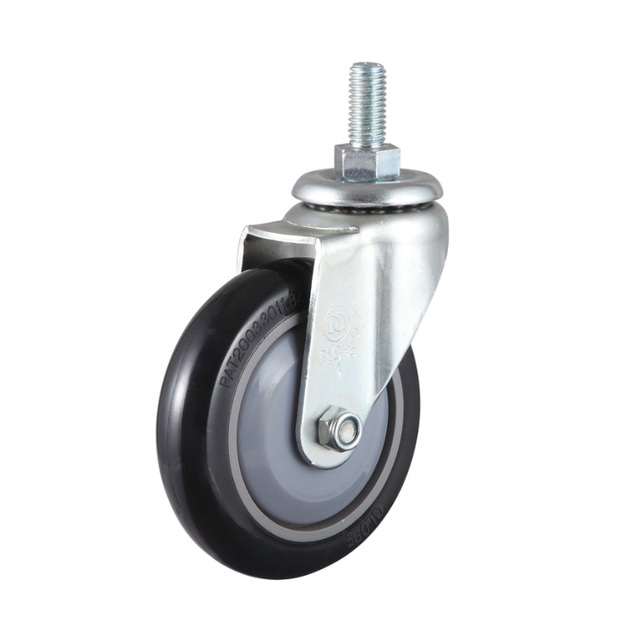
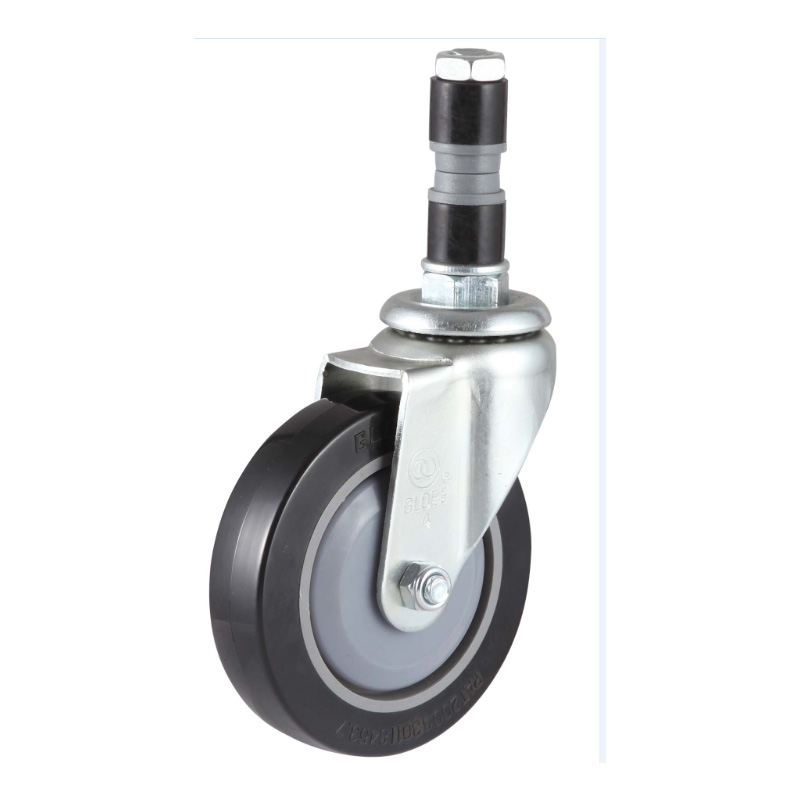
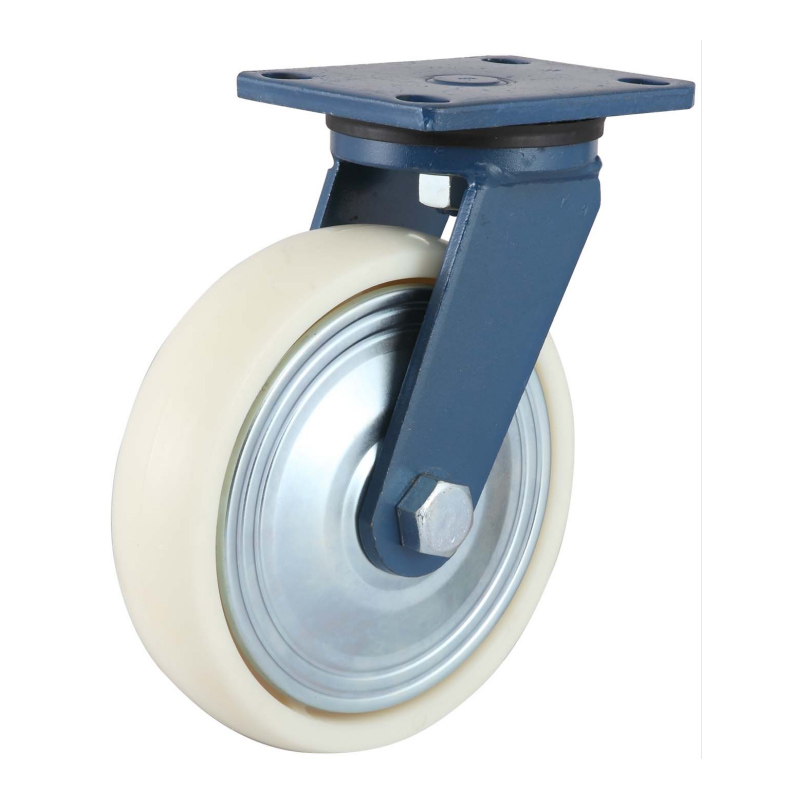
Hot sale High Quality Industrial Caster - EC1 Series- Threaded stem type-With Expanding Adapter – GLOBE
Hot sale High Quality Industrial Caster - EC1 Series- Threaded stem type-With Expanding Adapter – GLOBE Detail:
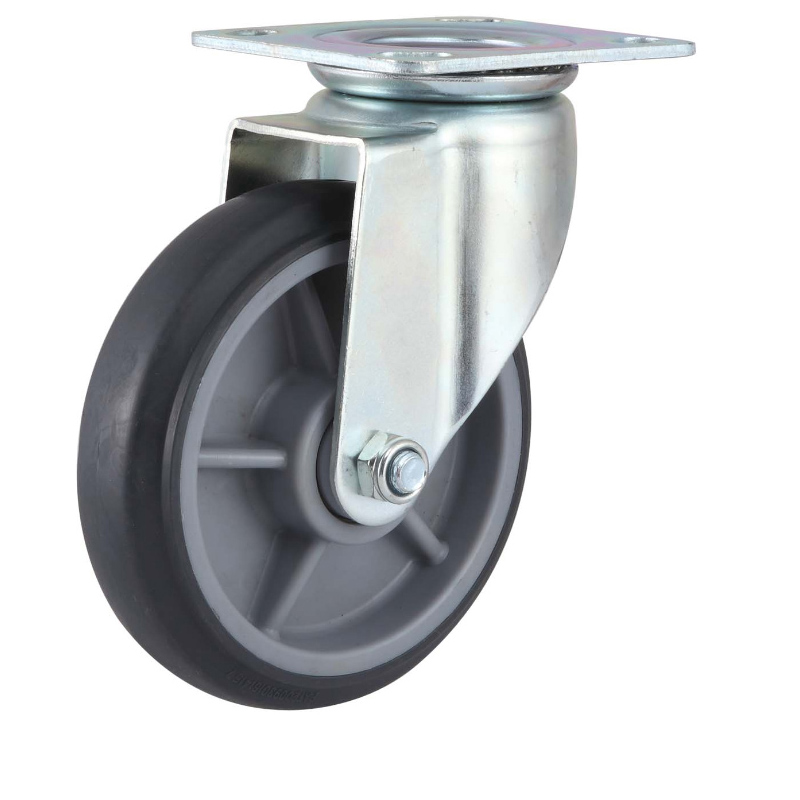
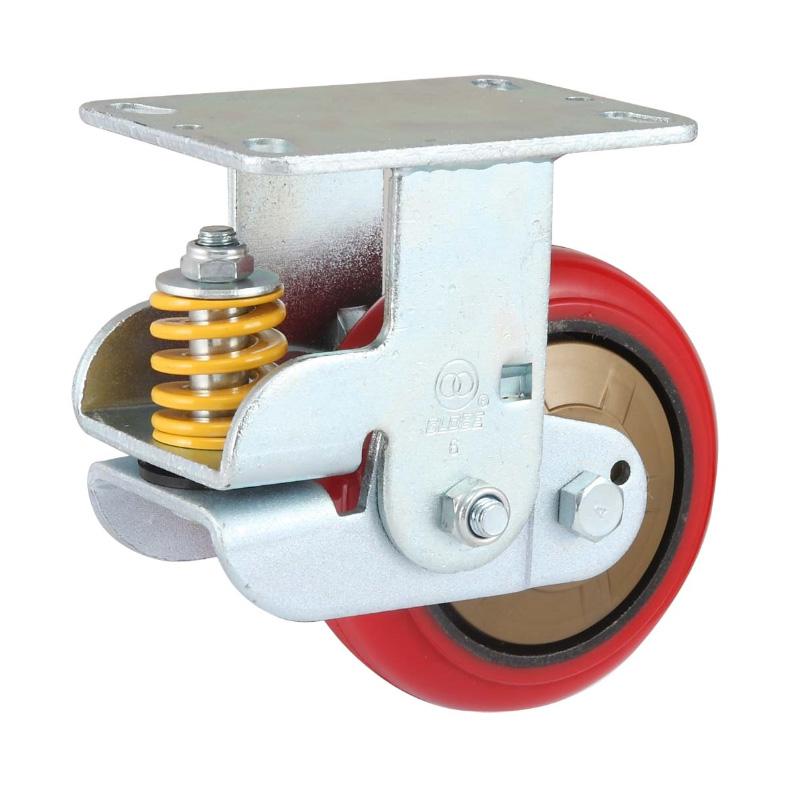
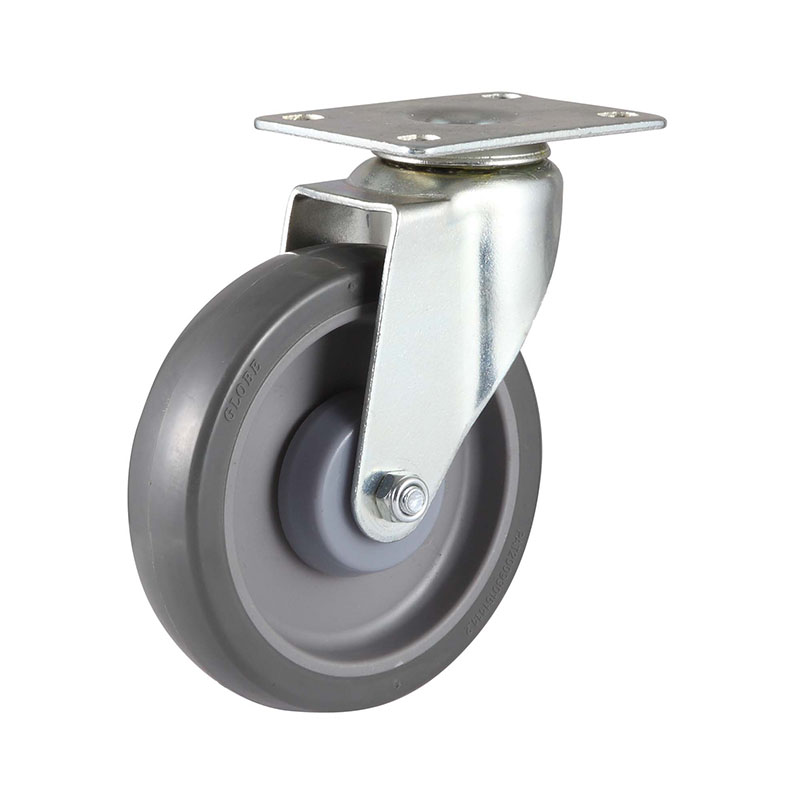
High-class PU caster
Super muting PU caster
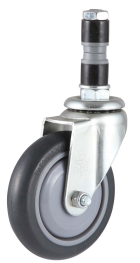
High-strength artificial rubber caster
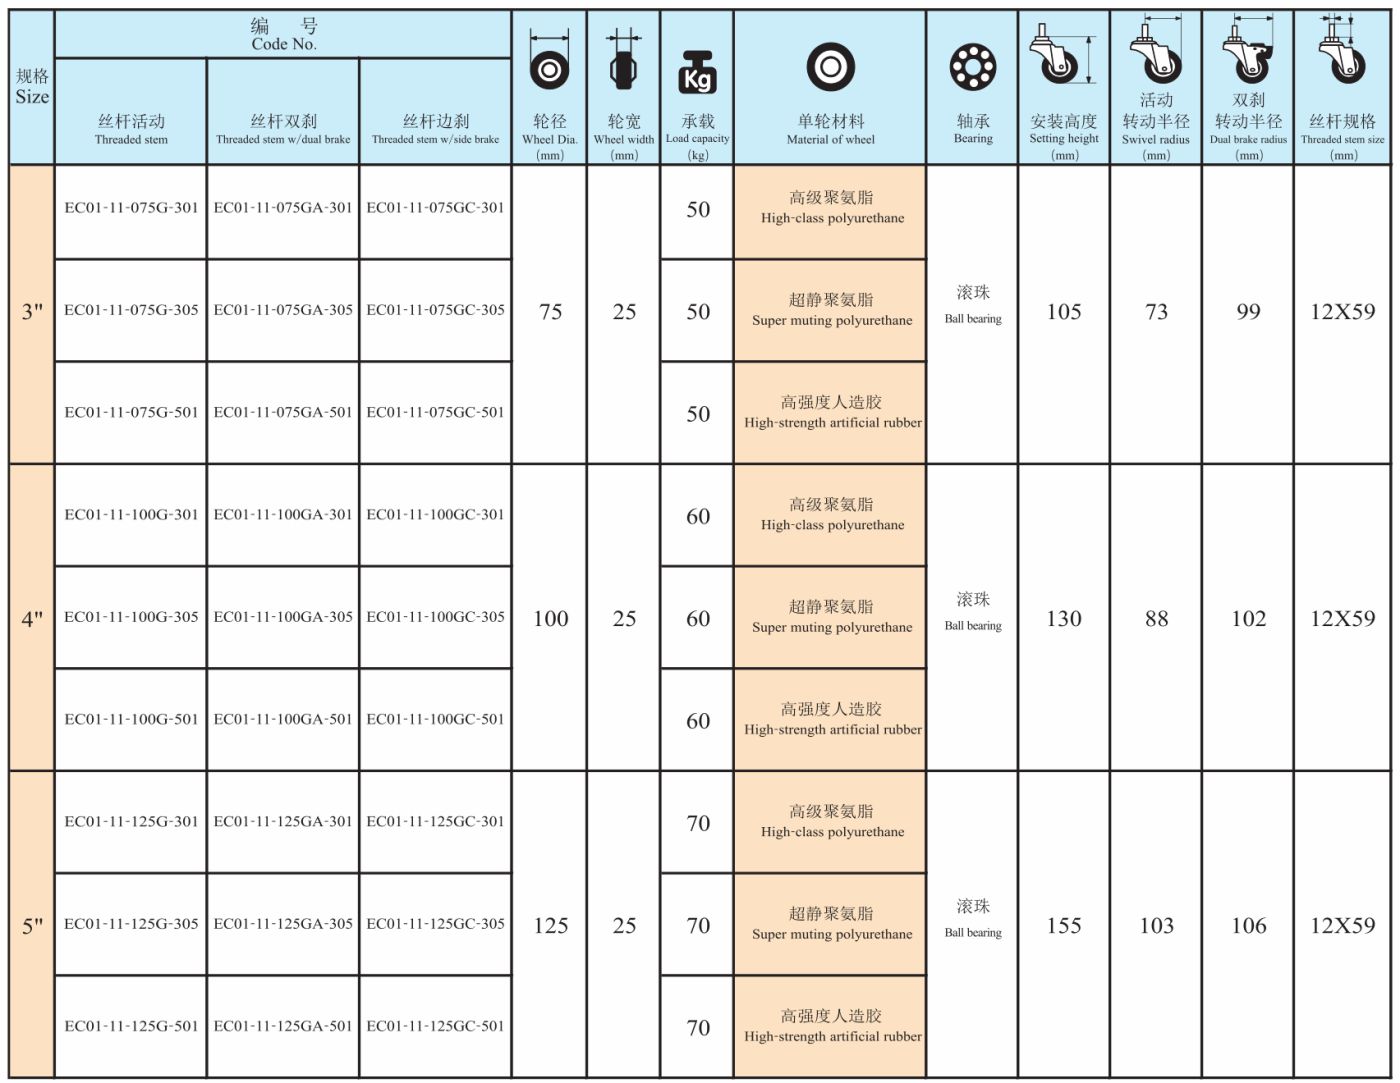
Advantages on our products:
1. High quality materials purchased with strictly quality check.
2. Each product checked strictly before packing.
3. We are professional manufacturer for over 25 years.
4. Trial order or mixed orders are accepted.
5. OEM orders are welcome.
6. Prompt delivery.
7) Any type of casters and wheels can be customized.

Contact Us Today
We adopted advanced technology, equipment and high-quality materials to ensure the flexibility, convenience and durability of our products. In different circumstances, our products have wear, collision, chemical corrosion, low/high temperature resistance, trackless, floor protection and low noise features.
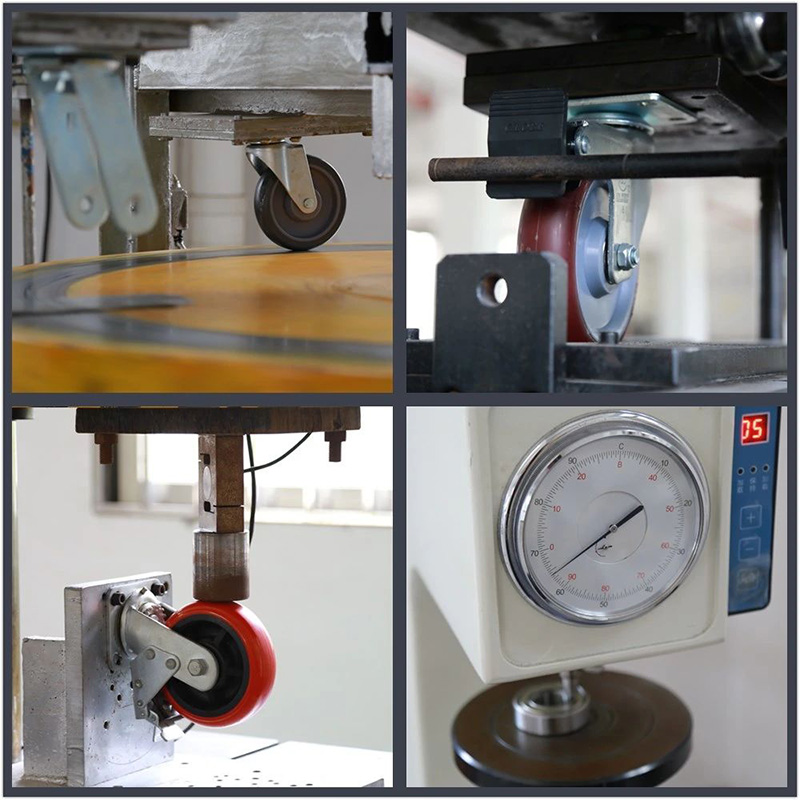
Testing
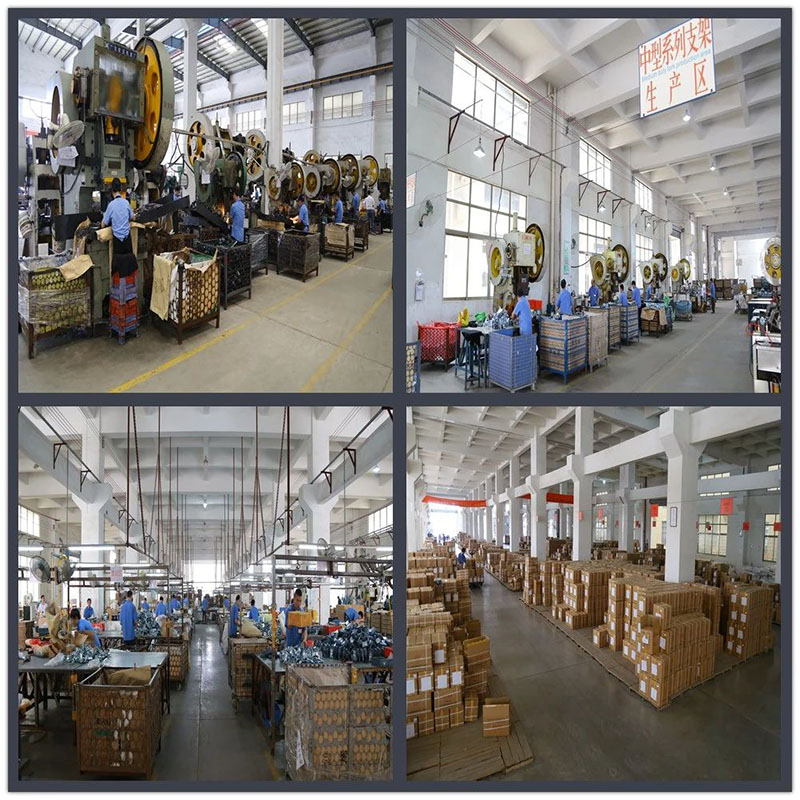
Workshop
Contents and methods of first inspection, intermediate sampling inspection, and caster inspection
1, intensity
1) Strength testing or sampling inspection should be carried out in accordance with design drawings and processing requirements. The hardness tester shall be reviewed with the standard block, and the test intensity can be carried out after confirmation. The heat-treated parts are tested with Rockwell hardness tester.
2) Before testing the strength, the surface of the parts should be cleaned and tidy, oxide scale, carburized layer and burrs should be removed, and there should be no prominent machining marks on the surface. The temperature of the tested parts is based on the indoor temperature, or slightly higher than the indoor temperature. The temperature is limited to everyone must be able to properly grasp it.
3) The strength inspection components should be clarified according to the process documents or by the inspection and processing personnel. The inspection strength of the heat treatment position is not less than 1 point, and each point is not less than 3 points. The unevenness of the general strength value should be less than or equal to HRC5 degrees.
2, deformation
1) Metal sheet parts are placed on the testing service platform with a micrometer to detect their unevenness.
2) For shaft parts, use pointed or V-shaped blocks to support both sides of the point. Use an inner diameter dial indicator to measure the axial vibration. Fine shaft parts can be checked on the website with a micrometer.
3) For round parts, use inner diameter dial gauges, micrometers, thread plug gauges, inner diameter dial gauges, thread plug gauges, ring gauges, etc. to inspect the internal hole, internal thread, external thread and other specifications of the parts.
4) Special testing tools for non-standard external threads to be tested and unique parts.
3. Appearance: Use your eyes to observe whether there are cracks, burns, knocks, black spots, rust, etc. on the surface. For key parts or parts that are prone to cracks, use gasoline blasting and other methods to check.
4. Features: testing by testing equipment.
Product detail pictures:
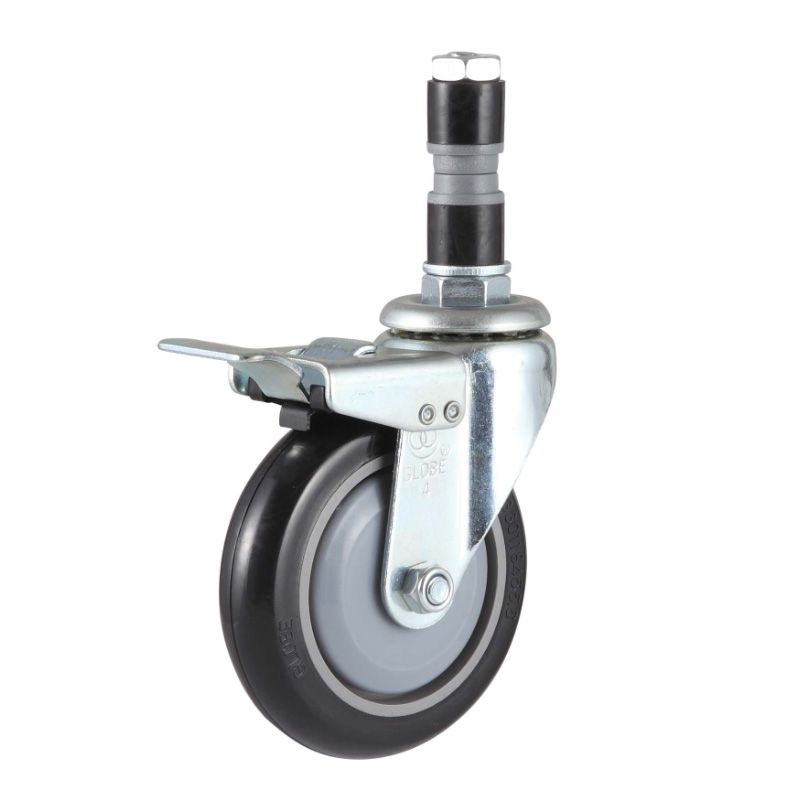
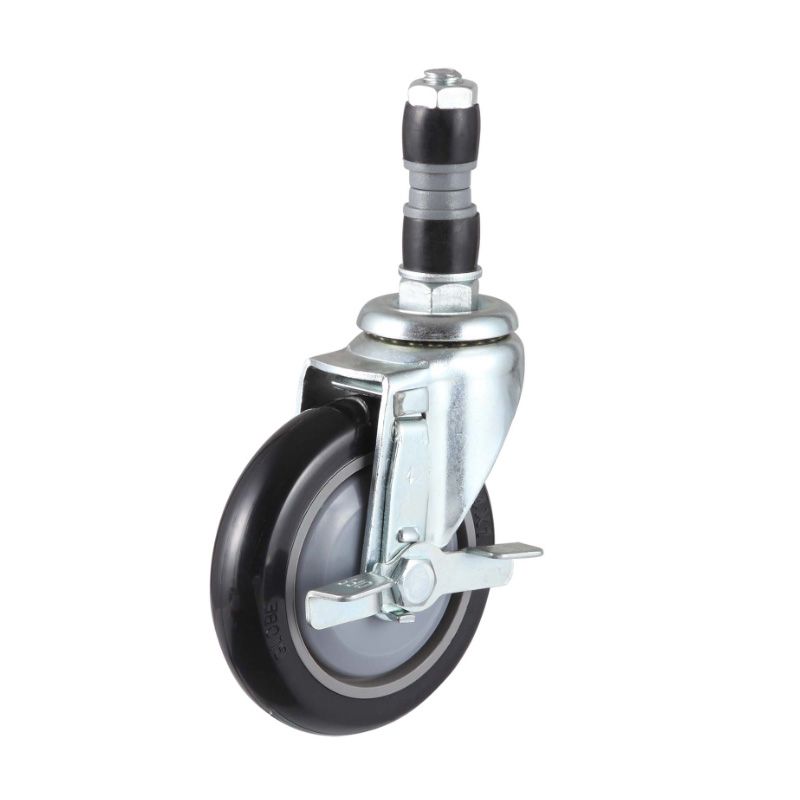
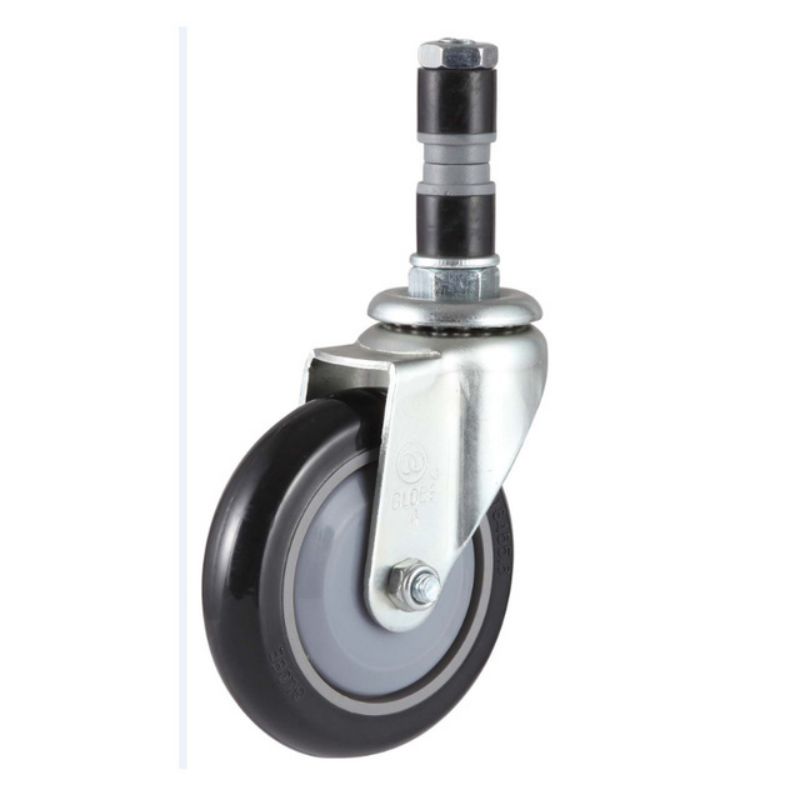
Related Product Guide:
Our progress depends about the advanced products ,fantastic talents and continuously strengthened technology forces for Hot sale High Quality Industrial Caster - EC1 Series- Threaded stem type-With Expanding Adapter – GLOBE , The product will supply to all over the world, such as: Russia, America, Rwanda, As operation principle is "be market-oriented , good faith as principle, win-win as objective", holding on "customer first, quality assurance, service first" as our purpose, dedicated to provide the original quality, create excellence service , we won the praise and trust in the industry of auto parts. In the future, We will provide quality product and excellent service in return to our customers , welcome any suggestions and feedback from all over the world.
Goods just received, we are very satisfied, a very good supplier, hope to make persistent efforts to do better.

